Nicks Pics
The ramblings of a flaneur photographer
Tag:
Street Photography
Uncategorized
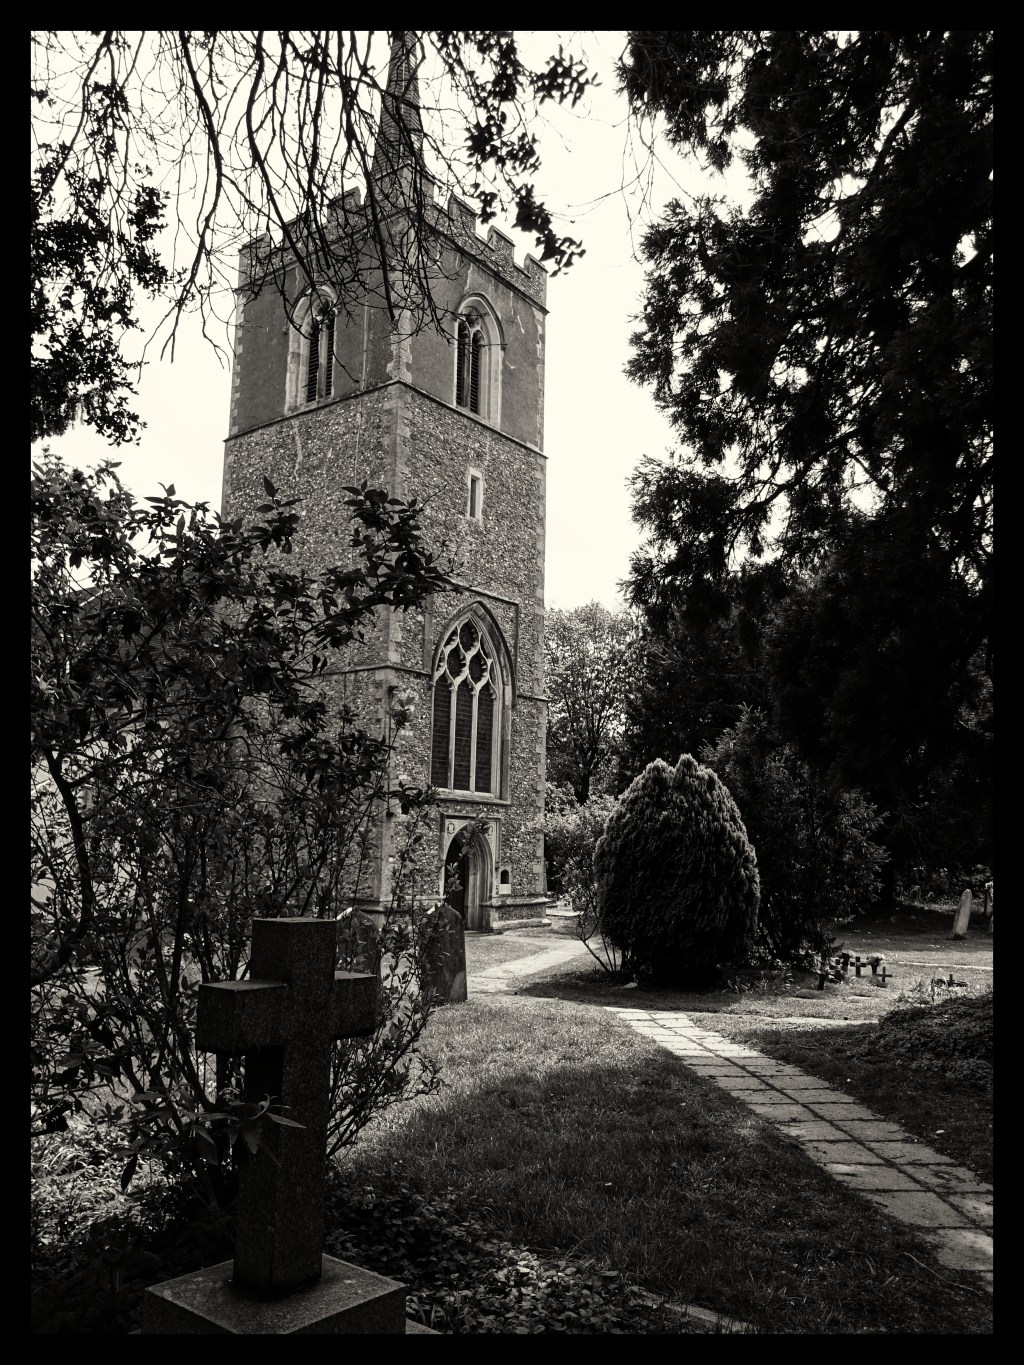
A stroll around Chelmsford
Art
,
Film
,
Photography
,
Technical
,
Uncategorized
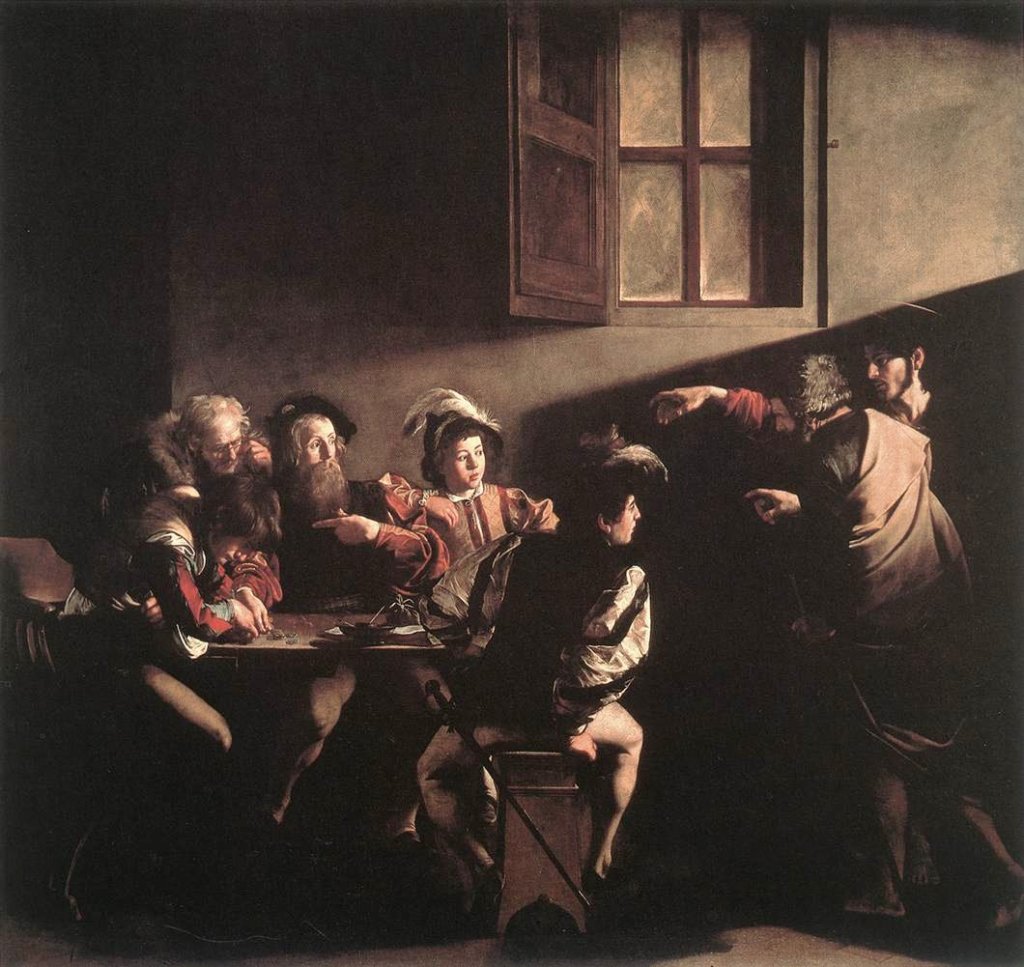
What can we, as photographers, learn from fine art?
Uncategorized
Pre-visualisation in photography
Churches
,
City
,
Heritage Buildings,
,
History
,
Photography
,
Religious Buildings
,
Technical
,
Travel
,
Uncategorized
Legacy glass on digital Part 1.
Churches
,
City
,
History
,
Photography
,
Religious Buildings
,
Travel
,
Uncategorized
The life of a Street photographer during lockdown.
City
,
Photography
,
Travel
,
Uncategorized
The Streets of Istanbul
Art
,
Film
,
Photography
,
Uncategorized
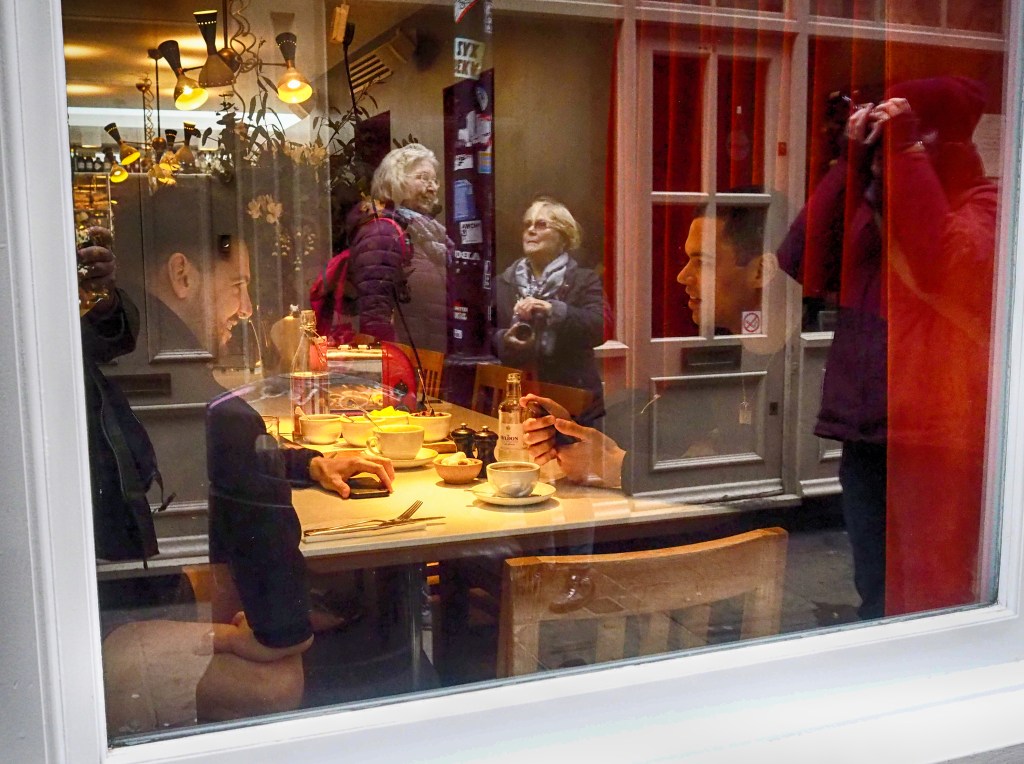
Through a window – After Saul Leiter
City
,
Photography
,
Travel
,
Uncategorized
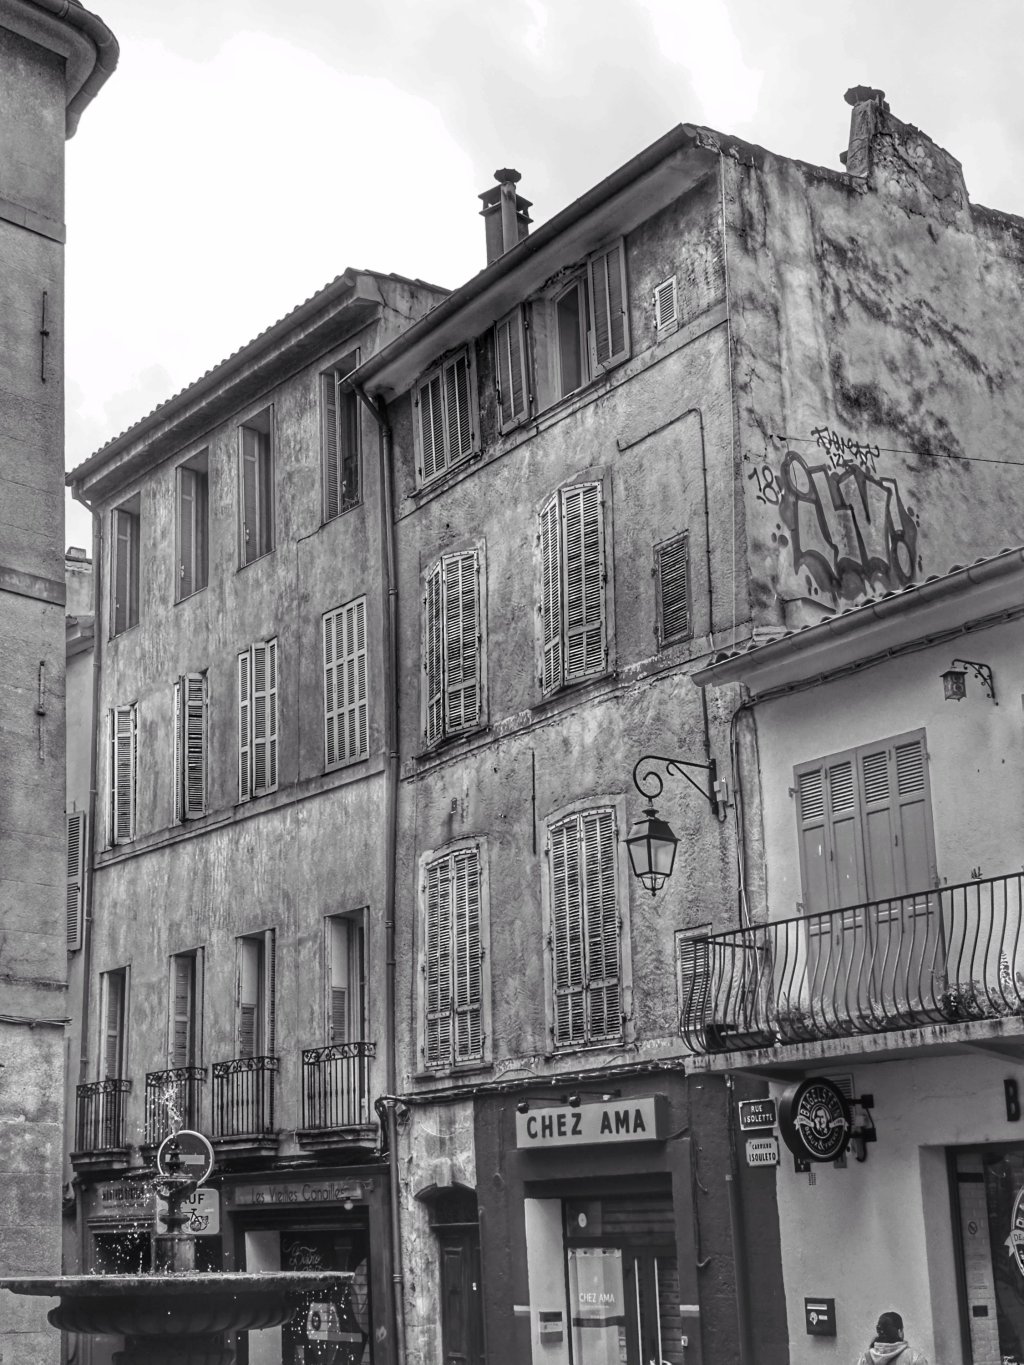
Decaying France
City
,
Photography
,
Travel
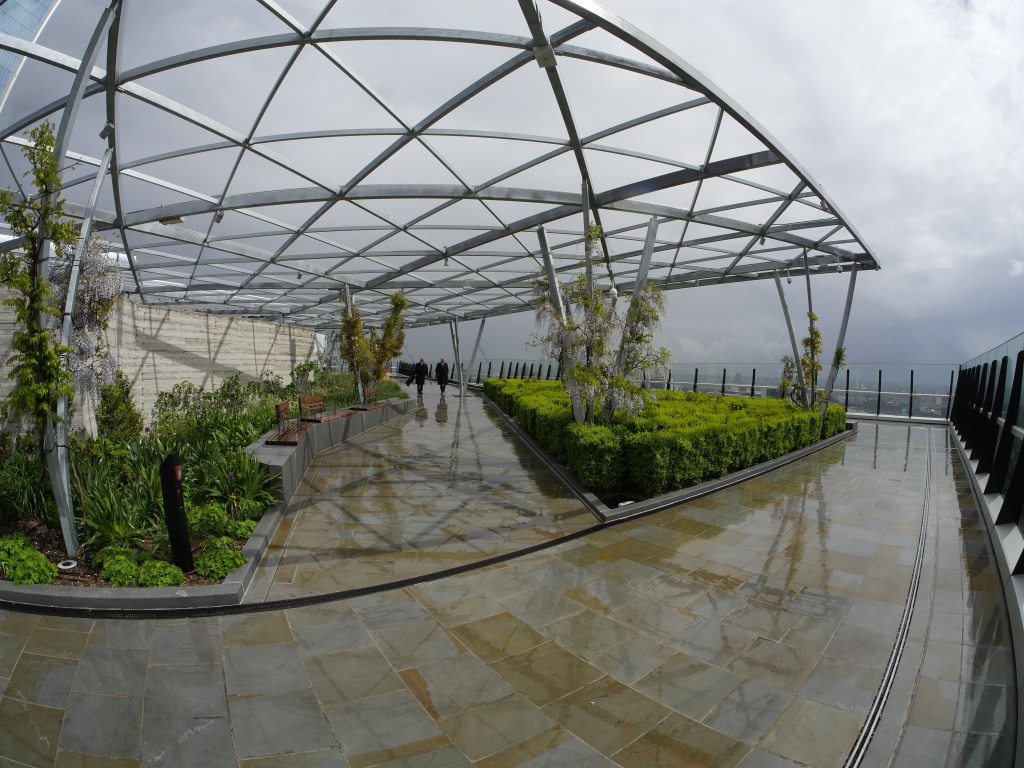
London City, Rooftop Garden and City Hall photography walk.
City
,
Photography
,
Technical
,
Travel
A Reflection on Street Photography
Subscribe
Subscribed
Nicks Pics
Join 53 other subscribers.
Sign me up
Already have a WordPress.com account?
Log in now.
Nicks Pics
Subscribe
Subscribed
Sign up
Log in
Report this content
View site in Reader
Manage subscriptions
Collapse this bar